Introduction
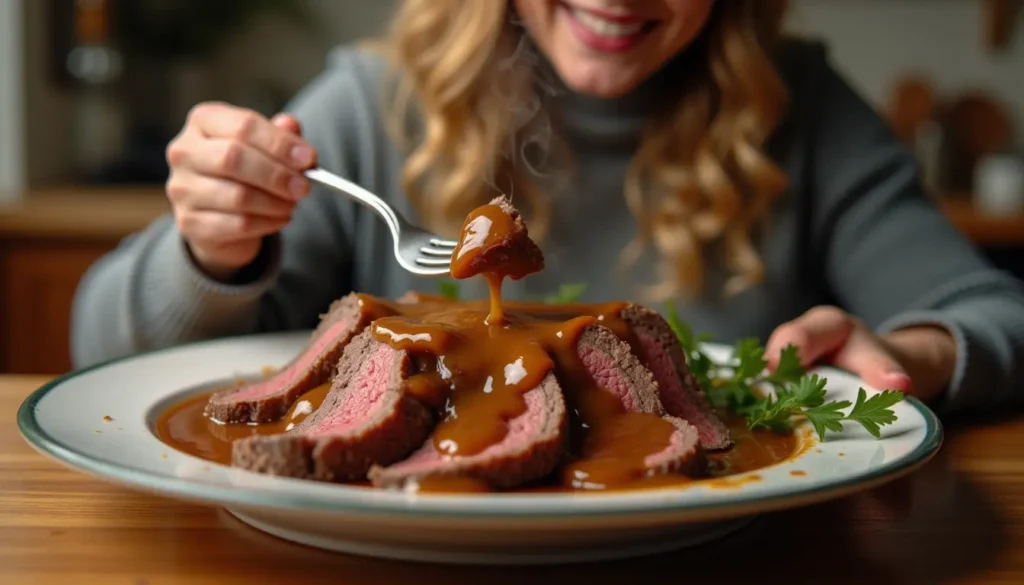
Tired of bland, lumpy gravy that ruins an otherwise perfect roast beef dinner? You’re not alone. After years of serving dry, flavorless gravy at holiday meals, I finally cracked the code to creating rich, silky roast beef gravy that elevates every bite.
This recipe delivers a deep, savory gravy with complex flavor that tastes like you spent hours in the kitchen—but takes just 15 minutes. As a culinary instructor who’s taught hundreds of home cooks, I’ve refined this method to be foolproof, even for beginners.
In this guide, you’ll discover the secret to perfect consistency, learn how to maximize flavor from pan drippings, master thickening techniques, and get pro tips for rescuing gravy disasters. Let’s transform your roast beef gravy from afterthought to showstopper.
Table of Contents
Why This Roast Beef Gravy Recipe Works
Making exceptional roast beef gravy doesn’t require fancy ingredients or culinary school training. Here’s why this recipe succeeds where others fall short:
- Uses pan drippings for authentic flavor: Those caramelized bits at the bottom of your roasting pan contain concentrated umami that store-bought gravies can’t replicate
- Ready in 15 minutes: From deglazing to serving, this gravy comes together fast enough for weeknight dinners
- Perfectly smooth texture every time: My foolproof whisking method eliminates lumps without fancy equipment
- Works with any roast beef cut: Whether you’re making prime rib or a simple sirloin roast, this gravy adapts beautifully
- Easy to adjust consistency: Too thick? Too thin? Simple fixes let you dial in the perfect texture
Choosing the Right Base for Roast Beef Gravy
The foundation of exceptional roast beef gravy starts before you even make the gravy itself. Understanding your options ensures maximum flavor.
Best Pan Drippings to Use
Not all drippings are created equal. For the richest roast beef gravy, you want drippings from well-seasoned, high-quality beef that’s been roasted at high heat. Prime rib, ribeye roast, and top sirloin produce the most flavorful fond (those browned bits). Avoid drippings from overly lean cuts, as they lack the fat needed for a silky mouthfeel.
Store-Bought vs. Homemade Stock
While pan drippings provide the star flavor, you’ll need liquid to build volume. Homemade beef stock adds incredible depth, but quality store-bought beef broth works perfectly well. Look for low-sodium options so you can control seasoning. In a pinch, beef bouillon dissolved in water works, though it won’t have the same body as proper stock.
Substitutions for Dietary Needs
Need to adapt this recipe? Swap butter for olive oil or vegan butter for dairy-free gravy. Use gluten-free flour or cornstarch for thickening if needed. For a lighter option, reduce the fat content by skimming excess from drippings, though you’ll sacrifice some richness.
Ingredients & Prep
Roast Beef Gravy Essentials
For approximately 2 cups of gravy, you’ll need:
- Pan drippings: 3-4 tablespoons (with fat)
- All-purpose flour: 3 tablespoons (or use cornstarch for gluten-free)
- Beef stock or broth: 2 cups, warmed
- Butter: 2 tablespoons (optional, for extra richness)
- Salt and black pepper: To taste
- Optional flavor enhancers: Fresh thyme, Worcestershire sauce, red wine, garlic
Flavor Boosters and Aromatics
Transform good gravy into extraordinary gravy with these additions:
- Fresh herbs: Thyme, rosemary, or sage (add during simmering)
- Umami boosters: Worcestershire sauce (1 teaspoon), soy sauce, or tomato paste
- Wine or spirits: Red wine, port, or cognac for deglazing (2-3 tablespoons)
- Aromatics: Minced shallots or garlic sautéed in the drippings
Prep Work Before You Start
Success in gravy-making is all about timing. Before you begin, gather your ingredients and tools: whisk, fine-mesh strainer, saucepan, and fat separator if you have one. Warm your beef stock in a separate pan or microwave—cold liquid added to hot roux causes lumps. Have your roasted beef resting on a cutting board so you can work with the drippings while they’re still hot.
Step-by-Step Cooking Instructions
Step 1: Collect and Strain Pan Drippings
After removing your roast beef from the pan, pour the drippings into a fat separator or glass measuring cup. Let it sit for 2-3 minutes so the fat rises to the top. You need about 3-4 tablespoons of fat for the roux. If you don’t have enough, supplement with butter. Strain out any burnt bits, but keep the flavorful browned fond stuck to the pan.
Step 2: Make the Roux
Return 3-4 tablespoons of fat to your roasting pan or transfer to a saucepan over medium heat. Sprinkle in 3 tablespoons of flour and whisk constantly for 2-3 minutes. The mixture should turn golden brown and smell nutty, not raw. This is your roux—the thickening base for silky roast beef gravy. Don’t rush this step; raw flour tastes pasty.
Step 3: Deglaze and Build Flavor
If using wine or spirits, add them now and scrape up all those caramelized bits stuck to the pan with a wooden spoon. Let the alcohol cook off for about 1 minute. These browned bits (fond) are pure concentrated beef flavor—the secret ingredient that makes homemade gravy superior.
Step 4: Add Stock Gradually
Slowly whisk in your warm beef stock, about ½ cup at a time. Whisking constantly prevents lumps from forming. After each addition, let the gravy thicken slightly before adding more liquid. This gradual method ensures a smooth, lump-free texture.
Step 5: Simmer and Season
Bring the roast beef gravy to a gentle simmer and cook for 5-7 minutes, stirring occasionally. This cooking time allows the flour to fully hydrate and the flavors to meld. Taste and season with salt, pepper, and any additional flavor enhancers like Worcestershire sauce or fresh herbs.
Step 6: Adjust Consistency
Your gravy should coat the back of a spoon but still pour easily. Too thick? Whisk in more warm stock or water, a tablespoon at a time. Too thin? Make a slurry by mixing 1 tablespoon cornstarch with 2 tablespoons cold water, then whisk it in and simmer for 2 more minutes.
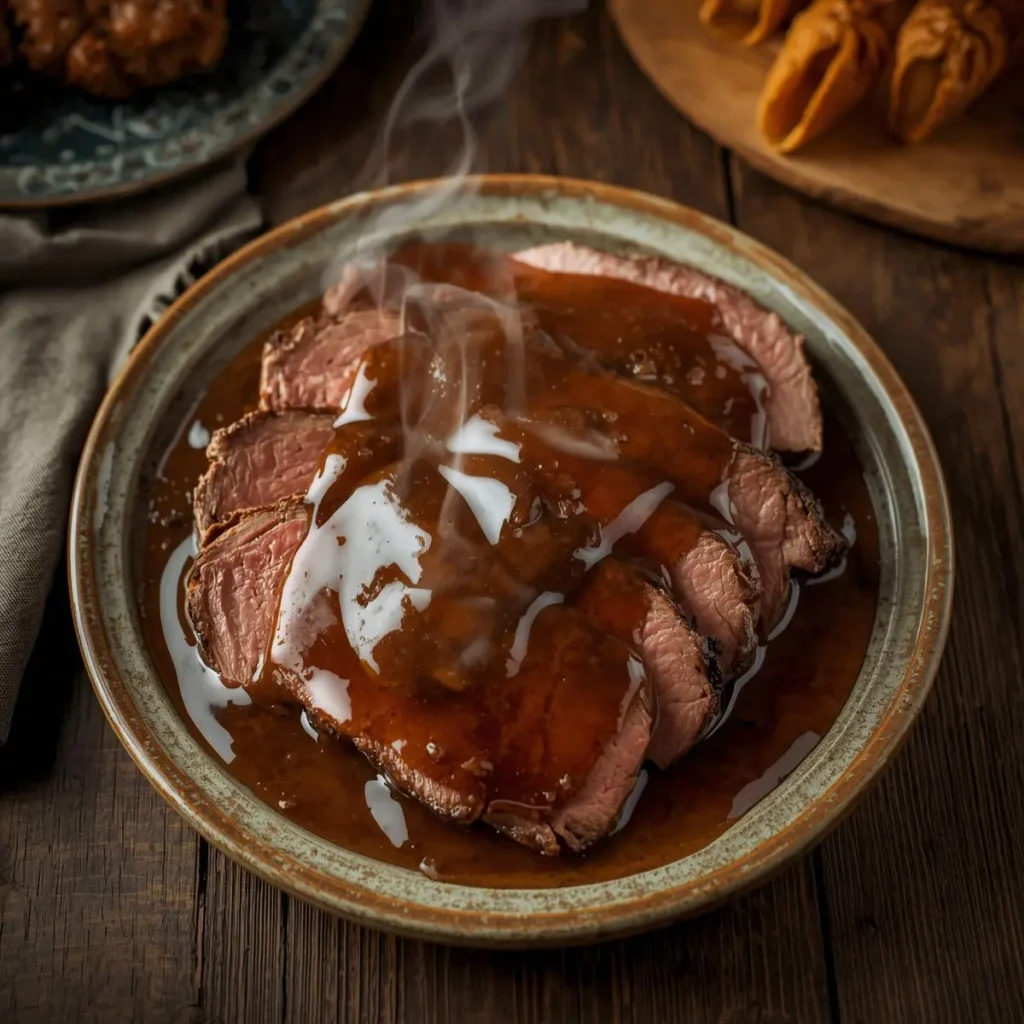
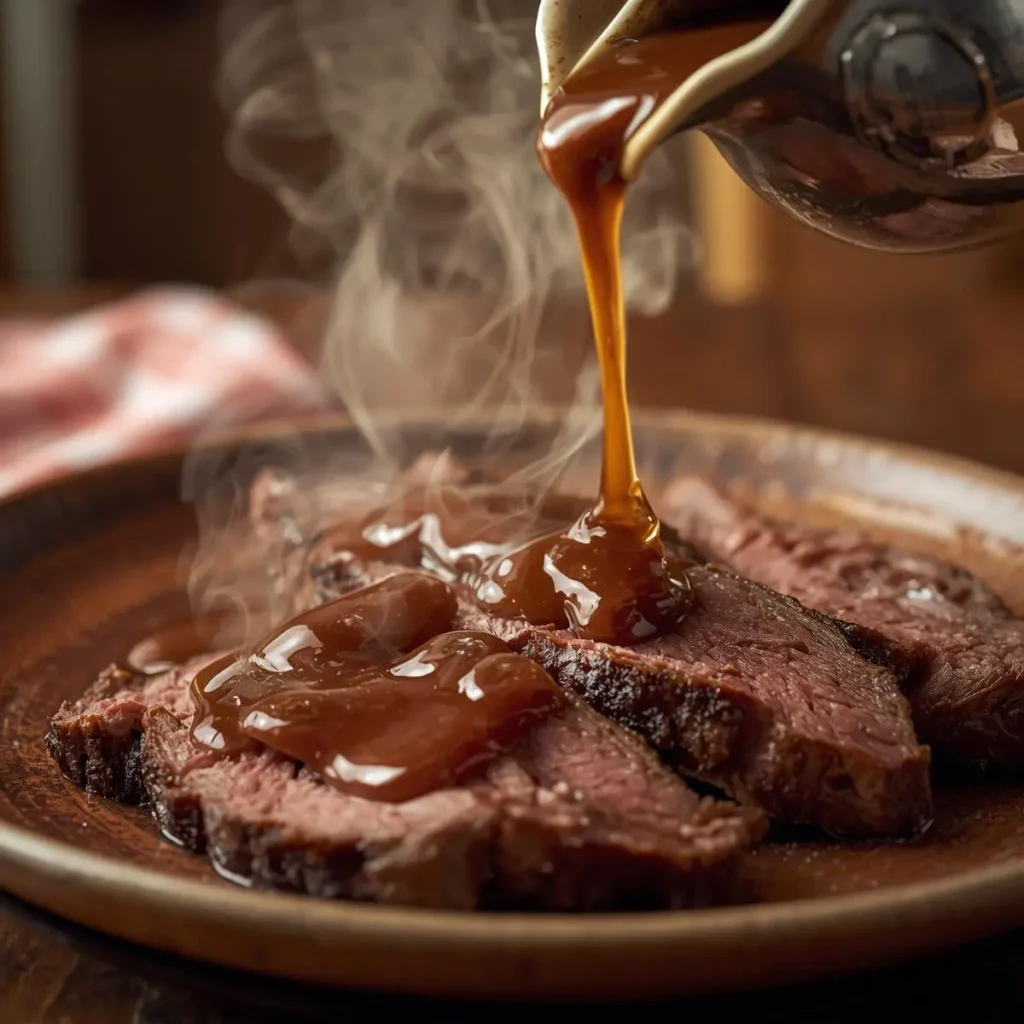
Step 7: Strain and Serve
For restaurant-quality presentation, strain your roast beef gravy through a fine-mesh strainer into a warm gravy boat. This removes any lumps, herbs, or unwanted bits. Serve immediately while hot, or keep warm over low heat until ready to serve.
Pro Tips for Perfect Roast Beef Gravy
Avoiding Common Gravy Disasters
Lumpy gravy: Always add warm liquid to your roux gradually while whisking constantly. If lumps form, blend the gravy with an immersion blender or push through a fine-mesh strainer.
Greasy gravy: You added too much fat. Skim excess fat from the surface with a spoon or blot with a paper towel laid gently on top.
Bland flavor: Your drippings lacked depth, or you underseasoned. Fix it by adding Worcestershire sauce, beef bouillon paste, or a splash of soy sauce. Simmer longer to concentrate flavors.
Too salty: Dilute with unsalted stock or water, then rebalance seasoning with a pinch of sugar or splash of cream.
Essential Tool Recommendations
A good whisk makes all the difference—choose one with flexible wires that reach pan corners. A fat separator saves time and reduces greasiness. For perfectly smooth gravy, keep a fine-mesh strainer handy. A heavy-bottomed saucepan distributes heat evenly and prevents scorching.
Storage and Reheating
Roast beef gravy keeps for 3-4 days refrigerated in an airtight container. Reheat gently over low heat, whisking in a splash of stock if it’s thickened too much. For longer storage, freeze in portions for up to 3 months. Thaw overnight in the refrigerator and reheat, whisking until smooth.
Flavor Variations
Rich and Creamy Version
Stir in ¼ cup heavy cream or sour cream during the final minutes of cooking for a luxurious, velvety roast beef gravy. This pairs beautifully with mashed potatoes and Yorkshire pudding.
Mushroom-Enhanced Gravy
Sauté 8 ounces sliced mushrooms (cremini or shiitake) in the drippings before making your roux. The mushrooms add earthy depth and meaty texture that complements roast beef perfectly.
Red Wine Reduction Style
Use ½ cup red wine (Cabernet or Merlot) for deglazing instead of all stock. Reduce by half before adding the remaining stock. This creates a sophisticated, restaurant-style sauce with complex tannins.
Herb-Infused Gravy
Add fresh thyme sprigs, rosemary, and bay leaves while simmering. Remove before serving for a fragrant, herb-forward gravy that tastes like Sunday dinner at grandma’s house.
Low-Sodium Version
Use unsalted stock and control sodium with careful seasoning at the end. Boost flavor with extra herbs, garlic, and a splash of balsamic vinegar instead of relying on salt.
Serving Suggestions
Roast beef gravy is incredibly versatile beyond just drizzling over sliced beef. Pour it generously over creamy mashed potatoes, buttery egg noodles, or fluffy biscuits. It transforms simple roasted vegetables like carrots, parsnips, and Brussels sprouts into something special.
For a classic British Sunday roast presentation, serve alongside Yorkshire puddings, roasted potatoes, and steamed green beans. The gravy pools perfectly in the Yorkshire pudding cups.
Pair your roast beef gravy dinner with full-bodied red wines like Cabernet Sauvignon, Malbec, or Syrah. The rich, meaty flavors complement the wine’s tannins beautifully. For beer lovers, a robust porter or stout provides similar depth.
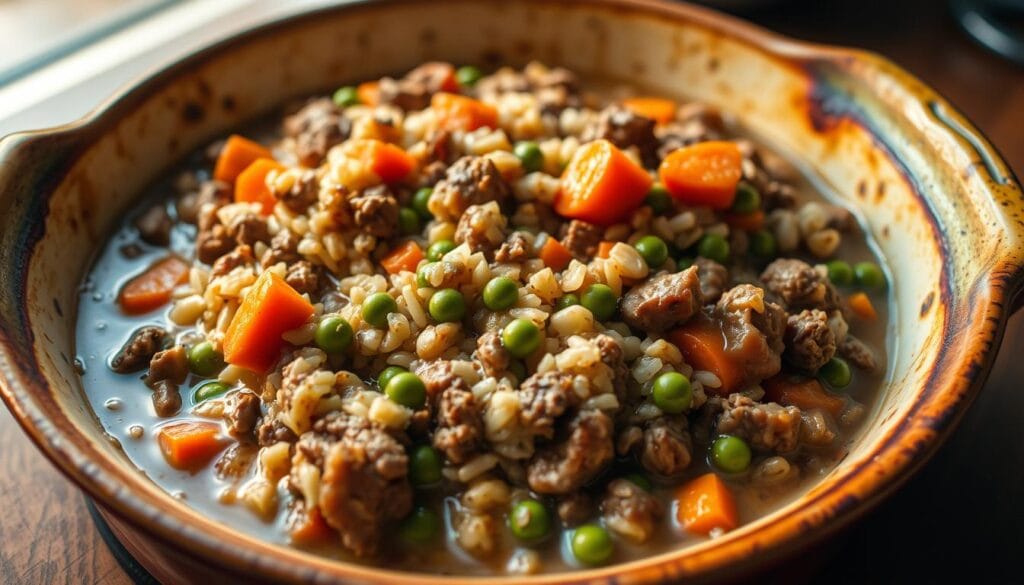
Don’t forget leftovers! Use roast beef gravy as the base for French dip sandwiches, shepherd’s pie filling, or poutine. It’s also excellent for reheating leftover roast beef—just slice the beef, warm it gently in the gravy, and serve over mashed potatoes.
FAQs
Can I make roast beef gravy without pan drippings?
Yes! Melt 4 tablespoons butter in a saucepan, add 3 tablespoons flour to make a roux, then whisk in 2 cups warm beef stock. For better flavor, add beef bouillon paste, Worcestershire sauce, and dried herbs. While it won’t have the same depth as gravy made from drippings, it’s a solid substitute.
How do I fix gravy that’s too thick?
Whisk in warm beef stock, water, or even red wine a tablespoon at a time until you reach desired consistency. Reheat gently while whisking. The gravy will loosen up as it warms.
Can I use cornstarch instead of flour?
Absolutely! Cornstarch creates a glossier, clearer gravy and is gluten-free. Mix 2 tablespoons cornstarch with 2 tablespoons cold water to make a slurry, then whisk it into simmering stock. It thickens faster than flour, so add gradually.
Is roast beef gravy safe for pregnant women?
Yes, as long as the gravy is cooked to a safe temperature (above 165°F) and uses pasteurized dairy if you add cream. Avoid adding alcohol unless it’s fully cooked off (at least 2-3 minutes of simmering after adding wine).
Why is my gravy lumpy?
Lumps form when flour clumps together before mixing with liquid. Prevent this by whisking constantly when adding stock and ensuring your liquid is warm. Fix lumpy gravy by straining through a fine-mesh strainer or blending with an immersion blender.
Can I make roast beef gravy ahead of time?
Yes! Make it up to 2 days ahead and refrigerate in an airtight container. Reheat gently over low heat, whisking in a splash of stock to restore consistency. The flavors often deepen overnight, making advance preparation ideal for holiday meals.
What’s the best way to remove excess fat?
Use a fat separator pitcher, which pours from the bottom and leaves fat behind. Alternatively, chill the drippings briefly so fat solidifies on top and can be scooped off easily. Or lay a paper towel on the surface to absorb grease.
Conclusion
Now you have everything you need to create restaurant-quality roast beef gravy that’ll have your family asking for seconds! This 7-step method takes the guesswork out of gravy-making, giving you consistent, delicious results every time.
Don’t let those precious pan drippings go to waste—fire up your oven, roast some beef, and master this essential kitchen skill tonight! Once you taste homemade roast beef gravy made from real drippings, you’ll never go back to store-bought packets.
Join thousands of home cooks who’ve transformed their roast dinners with this foolproof recipe. Share your gravy success stories in the comments below—we love seeing your creations!
Ready for your next culinary challenge? Try our Ultimate Beef Stock Recipe to take your gravies and sauces to the next level, or check out our Perfect Prime Rib Roast Guide for the ultimate Sunday dinner centerpiece.
How did you find results our recipes
There are no reviews yet. Be the first one to write one.